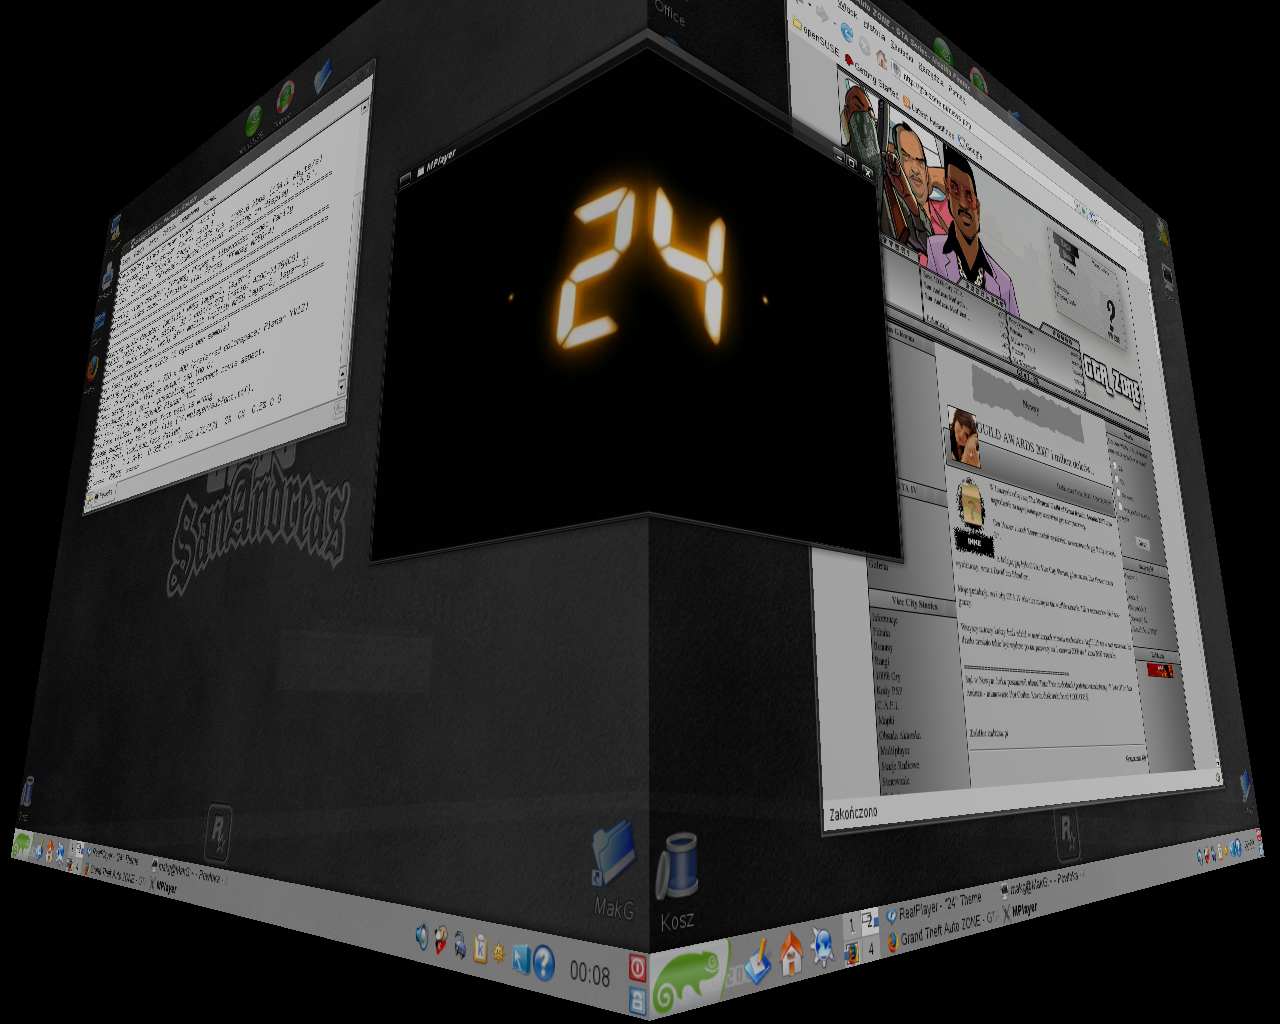
Beryl
Instalacja na OpenSuse 10.2
Beryl z Xgl
Ta metoda pozwoli nam na ustawienie Beryla do odpalenia go w środowisku Xgl. Metoda ta jest preferowana przez wiele osób, ponieważ inne metody takie jak AIGLX/NVIDIA wciąż nie zapewniają odpowiedniej funkcjonalności. Wymagania:
1.
- Karta nVidia: Zainstaluj sterowniki nVidia obsługujące aceleracje 3D. Zobacz: NVIDIA
- ATI card: Zainstaluj nowy sterownik ATI dla Xorg 7.2. Sprawdź tutaj
- Intel card: Upewnij się, że akceleracja 3D jest włączona w:
K Menu -> Computer -> YaST. Potem: Hardware -> Graphics Card and Monitor.
2. Dodaj dodatkowe repozytoria dla Beryla.
- Żeby dodać je do Yasta, zobacz: Additional_YaST_Package_Repositories#Beryl.2C_Compiz_and_XGL
- Żeby dodać je przez Zypper/rug, wpisz: (if using rug, just replace zypper with rug)
zypper sa http://ftp.skynet.be/pub/software.opensuse.org/X11:/XGL/openSUSE_10.2/ xgl
- Aby dodać repozytorim przez program Smart, wpisz:
su
smart channel --add http://ftp.skynet.be/pub/software.opensuse.org/X11:/XGL/openSUSE_10.2/X11:XGL.repo
3. Następnie zainstaluj poniższe pakiety (Using YaST -> Software Management -> znajdź Beryl):
- beryl-core-snapshot
- beryl-manager-snapshot
- beryl-plugins-snapshot
- beryl-settings-snapshot
- compiz
- emerald-snapshot : window decorator
- emerald-themes-snapshot
- aquamarine-snapshot
- xgl
Jeżeli nie chcemy instalować najnowszej wersji snapshot i wolelibyśmy zainstalować stabilną wersję, dobrze jest zainstalować wszystkie wymienione pakiety lecz bez -snapshot. Compiz jest wymagany do łatwego przełączania XGL. Można także wybrać używając menedżera zarządzania berylem czy użyć compiz czy beryl po instalacji.
4. Enable Xgl:
su
gnome-xgl-switch --enable-xgl
(you do NOT need to be running GNOME: this command applies for GNOME or KDE users)
5. Zrestartuj swój serwer X:
su
rcxdm restart
6. Uruchom beryl!
beryl-manager
Możliwe błędy:
  1) on boot X complains about more than one x server
         "There already appears to be an X server running on display :0. Should another display number be
          tried? Answering no will cause GDM to attempt starting the server on :0 again... etc" Answering
          "no" successfully starts X.
  2) logged in to a session with beryl:
         (32 bit) all menus and popup are rendered atop white boxes
         (64 bit) desktops & windows flicker, no window borders
  symptoms caused because "gnome-xgl-switch --enable-xgl" does not properly set up Xgl.
  *Solution, temporary:
          1) remove all /tmp/.Xgl-Auth-* to another folder
          2) Enable Xgl from the control center instead.
Beryl with nVidia drivers - no Xgl/AIGLX
Since Xorg 7.x, composite effects can be used without Xgl and simply an nVidia card. This uses nVidia's implementation of GLX_EXT_texture_from_pixmap, not the one from Xorg's inbuilt/optional AIGLX or from Xgl.
Prerequisites:
- nVidia (> geforce 4)
1. Install the nVidia accelerated drivers. See: NVIDIA
2. Add the additional Beryl repository, from the openSUSE build service.
- To add this to Yast, see:
Additional_YaST_Package_Repositories#Beryl_Packages
- To add this repository via Smart, type:
smart channel --add http://ftp.skynet.be/pub/software.opensuse.org/X11:/XGL/openSUSE_10.2/X11:XGL.repo
3. Now install the following packages:
- beryl-core-snapshot
- beryl-plugins-snapshot
- emerald-snapshot : window decorator
- emerald-themes-snapshot
- aquamarine-snapshot
- beryl-settings-snapshot
- beryl-manager-snapshot
4. Enable composite in Xorg:
su
nvidia-xconfig --composite
nvidia-xconfig --allow-glx-with-composite
nvidia-xconfig --render-accel
nvidia-xconfig --add-argb-glx-visuals
- NOTE The --allow-glx-with-composite option enables GLX even when the Composite X extension is loaded. ENABLE AT YOUR OWN RISK. OpenGL applications will not display correctly in many circumstances with this setting enabled. This option is intended for use on X.Org X servers older than X11R6.9.0. On X11R6.9.0 or newer X servers, the NVIDIA OpenGL implementation interacts properly by default with the Composite X extension and this option should not be needed. However, on X11R6.9.0 or newer X servers, support for GLX with Composite can be disabled by setting this option to False.
5. Restart your X:
su
rcxdm restart
6. Run beryl!
beryl-manager
Beryl with X.org AIGLX or native NVIDIA
Prerequisites:
- nVidia Card (> geforce 4), or
- Relevant Intel Card: i830 through i945. i810 works, but DRI requires 16 bit depth. Or
- Relevant ATI Card: Radeon 7000 through X850 (r100 through r400 generations).
1.
- nVidia card: Install the nVidia accelerated drivers. See: NVIDIA
- ATI card: Install the new ATI driver for Xorg 7.2. Check here
- Intel card: Make sure that 3D acceleration ("Active 3D Acceleration" box is ticked) in:
K Menu -> Computer -> YaST. Then: Hardware -> Graphics Card and Monitor.
2. If you were running Xgl, make sure that it is now disabled:
su
gnome-xgl-switch --disable-xgl
Note: this command is required for GNOME and KDE users.
3. Backup your Xorg configuration:
su
cp /etc/X11/xorg.conf /etc/X11/xorg.conf.$(date +%y%m%d-%H%M%S)
4. Open up xorg.conf for editing: Szablon:KDE
You'll notice now that the file is demarcated into Sections. You'll need to edit these to add a few lines, which are options:
To Section "ServerLayout", add:
Option "AIGLX" "true"
To Section "DRI", add:
Group 0
Mode 0666
To Section "Device", add:
Option      "XAANoOffscreenPixmaps" "true"
Option      "DRI"     "true"
Now also create a new section that looks just like this:
Section "Extensions"
      Option   "Composite"   "Enable"
EndSection
The relevant parts of your xorg.conf should look something like this now (it may vary a little):
Section "Extensions"
  Option   "Composite"   "Enable"
EndSection

Section "DRI"
   Group      0
   Mode       0666
EndSection

Section "ServerLayout"
 Identifier   "Layout[all]"
 InputDevice  "Keyboard[0]" "CoreKeyboard"
 InputDevice  "Mouse[1]" "CorePointer"
 InputDevice  "Mouse[3]" "SendCoreEvents"
 Option       "Clone" "off"
 Option       "Xinerama" "off"
 Option       "AIGLX"   "true"
 Screen       "Screen[0]"
EndSection

Section "Device"
 BoardName    "915 GM"
 BusID        "0:2:0"
 Driver       "i810"
 Identifier   "Device[0]"
 Option       "NoDDC"
 VendorName   "Intel"
 Option       "XAANoOffscreenPixmaps" "true"
 Option       "DRI"   "true"
EndSection
Now make sure you save the file, and then close the editor.
5. Now restart X:
su
rcxdm restart
6. Run Beryl!
beryl-manager
